
One system, endlessly rearranged
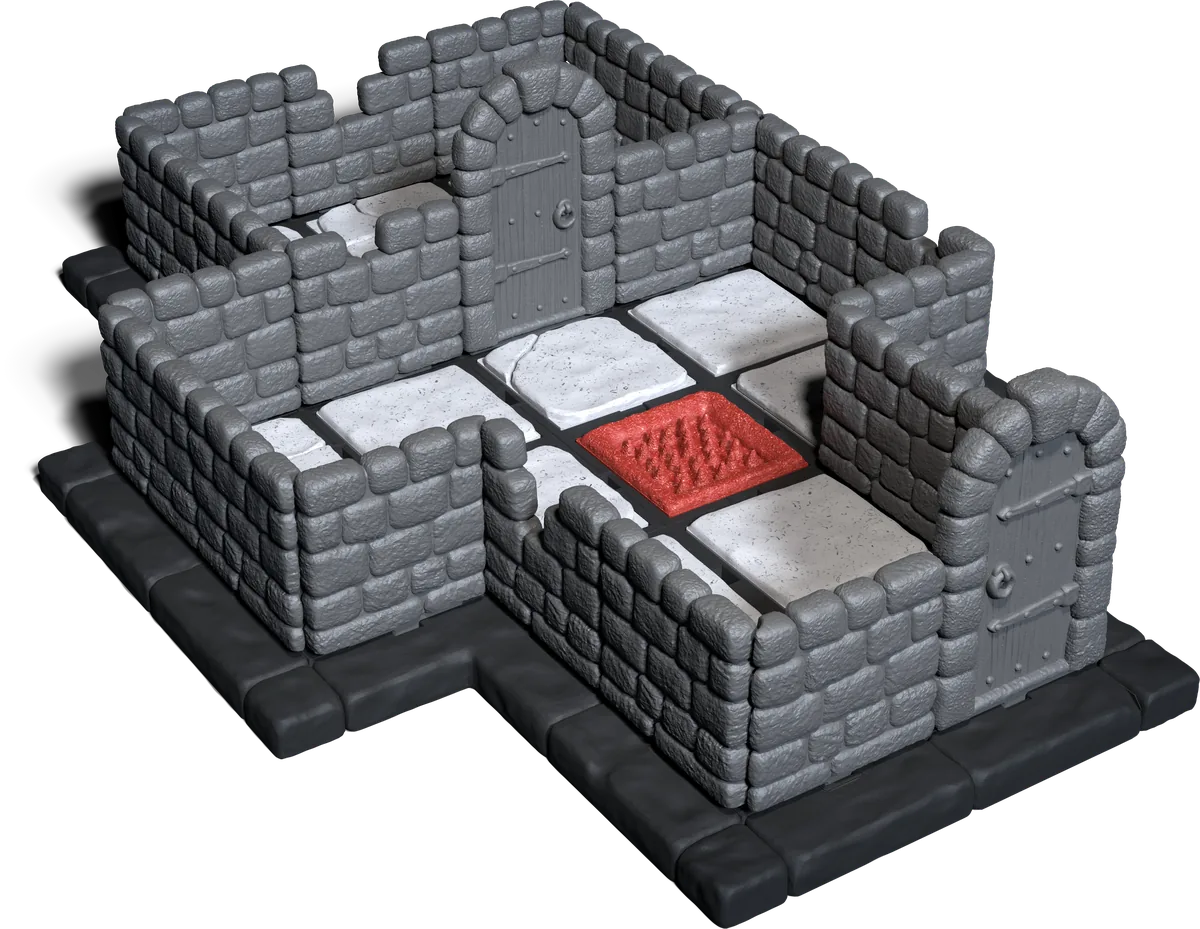
Square dungeon tiles with terrain, walls, doors and traps, all printable from a single collection.
How the pieces fit
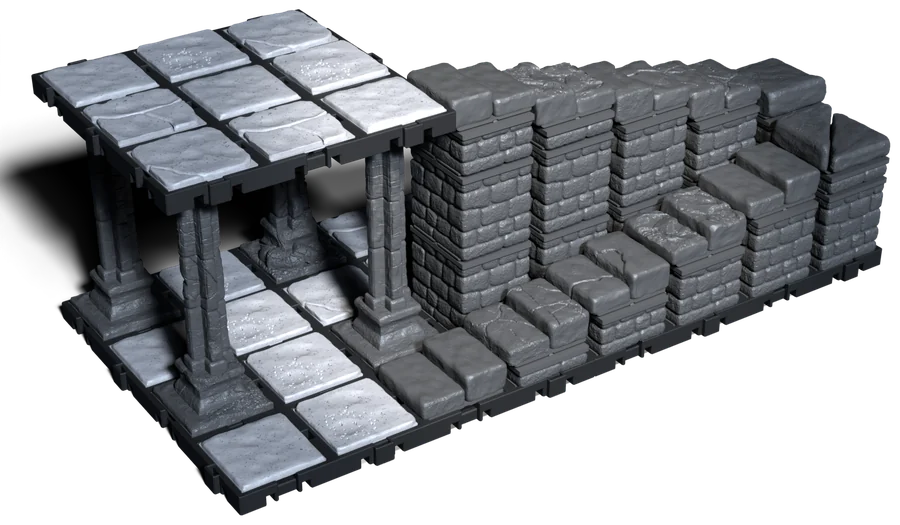
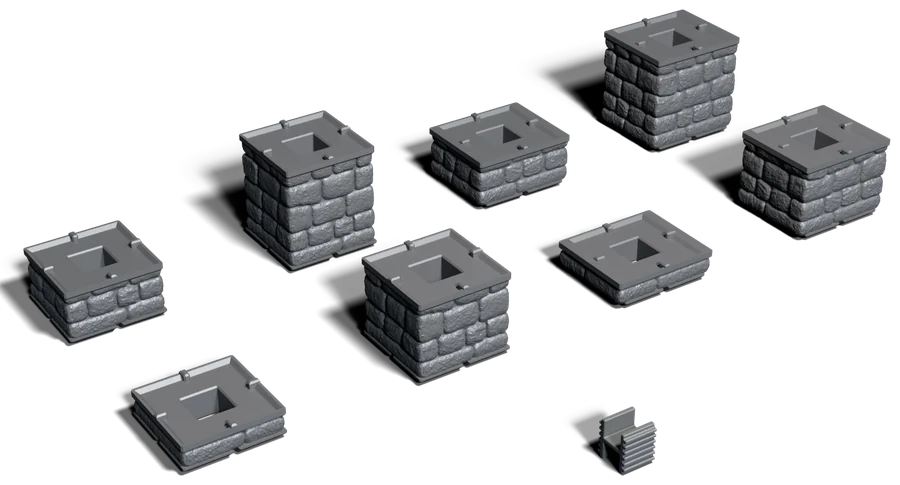
A tile is a structural base. Terrain snaps into it from above, so the same tile can be a plain floor in one room and a pit trap in the next. Walls and doors drop into the seam between two tiles rather than sitting on top of one, which keeps a full square inch of playing space in every cell.
Because nothing clips shut, a wall can be lifted out mid turn. That is what gives the system its fog of war: the dungeon is revealed, closed off and rearranged while the game is running.
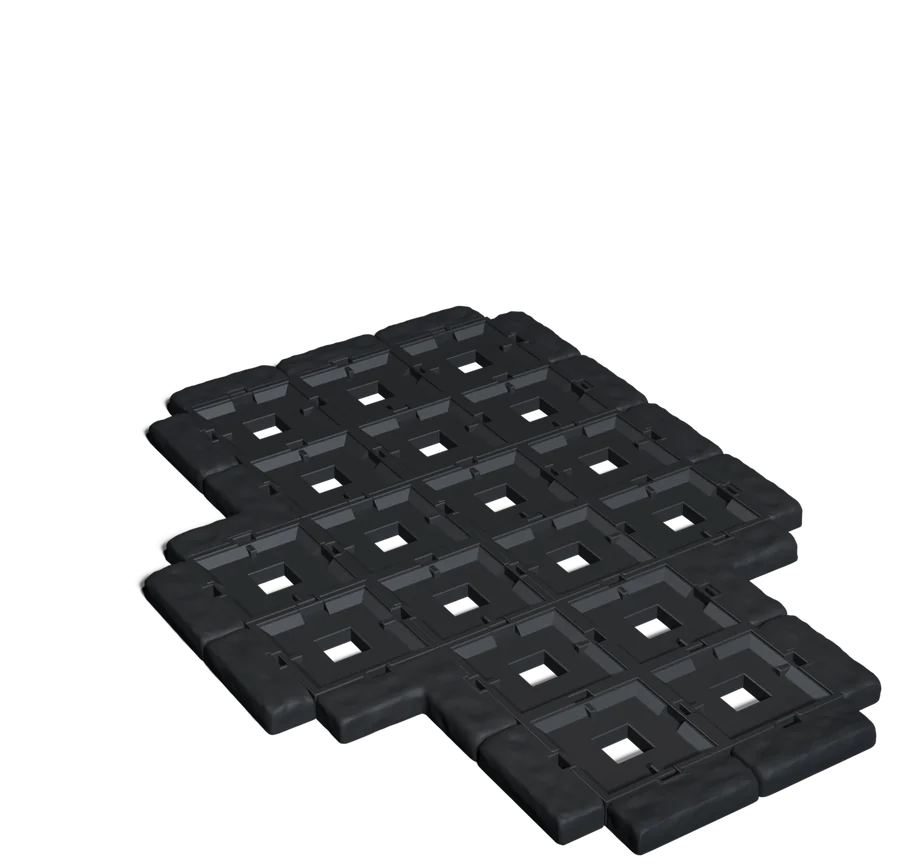
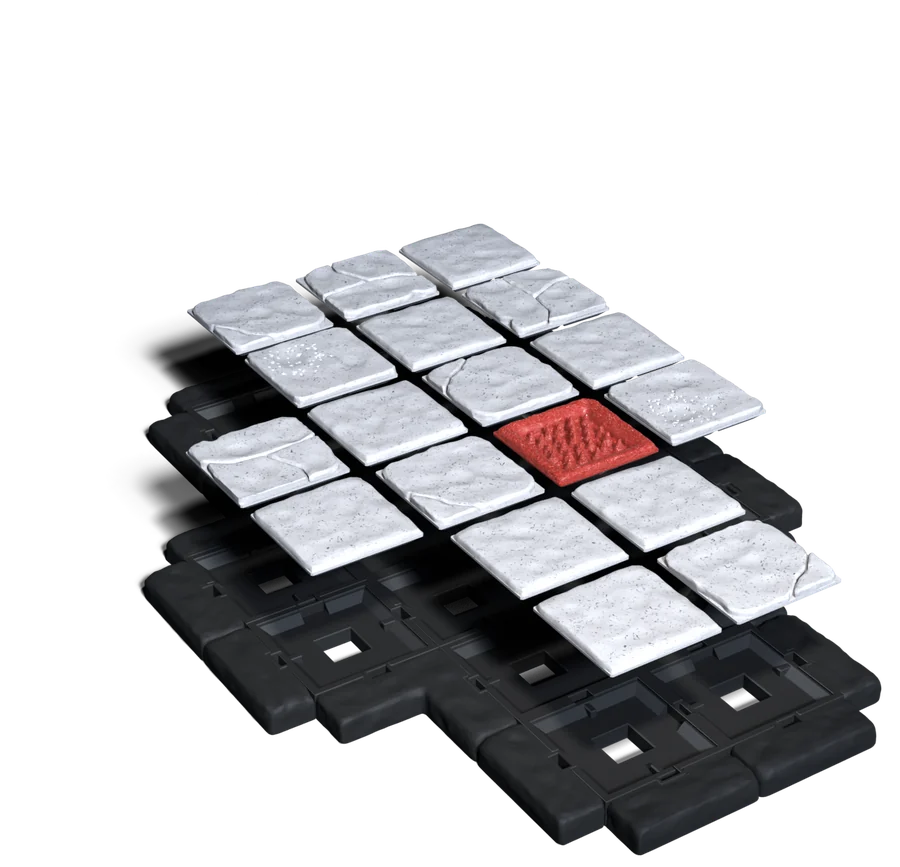
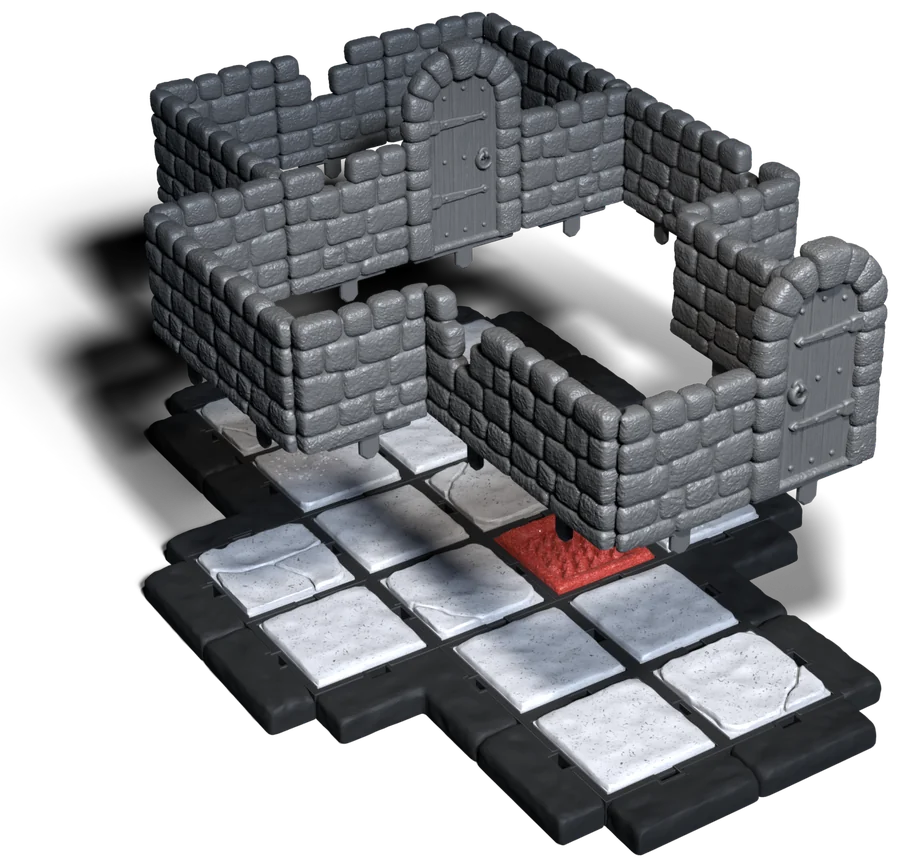
The grid stays the grid
Walls and doors stand on the seams between tiles, not on the squares, so a map drawn on a grid builds square for square: one tile per square, and the walls go where the lines are. Any dungeon from a scenario book, or any map you draw on squared paper, goes straight onto the table.
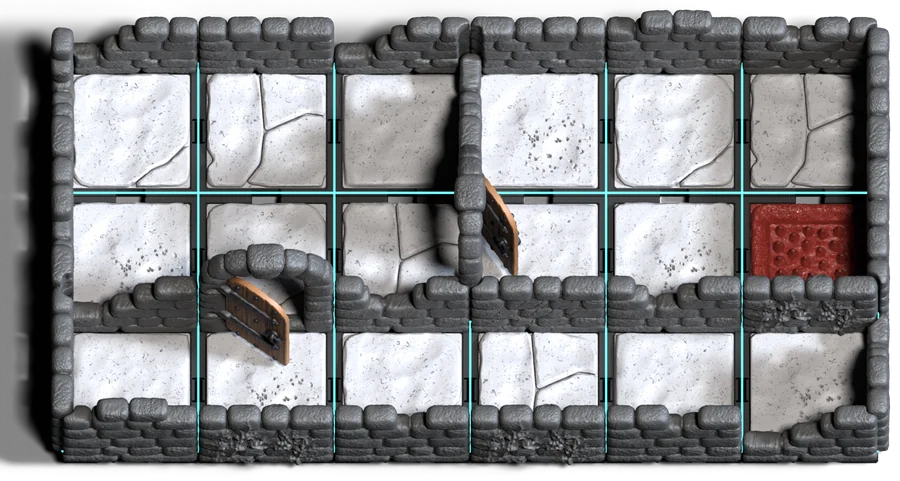
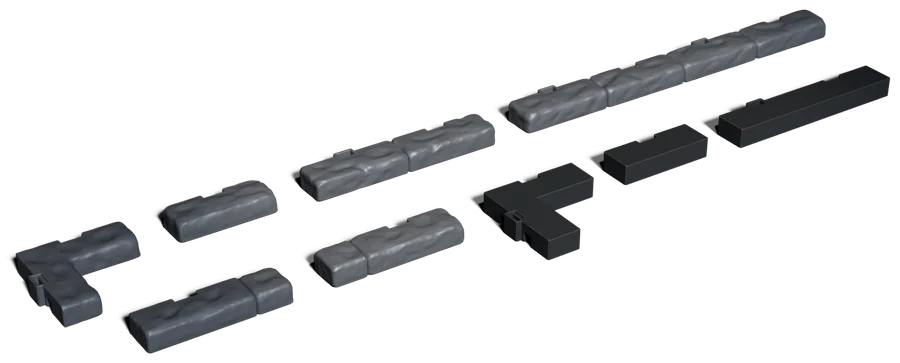
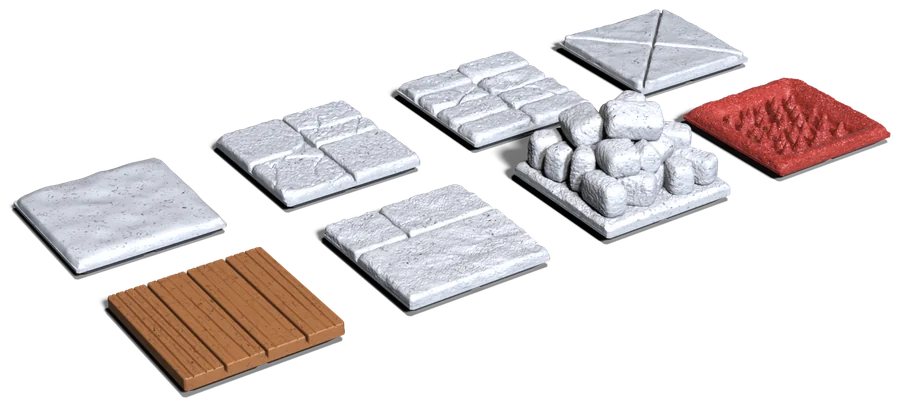
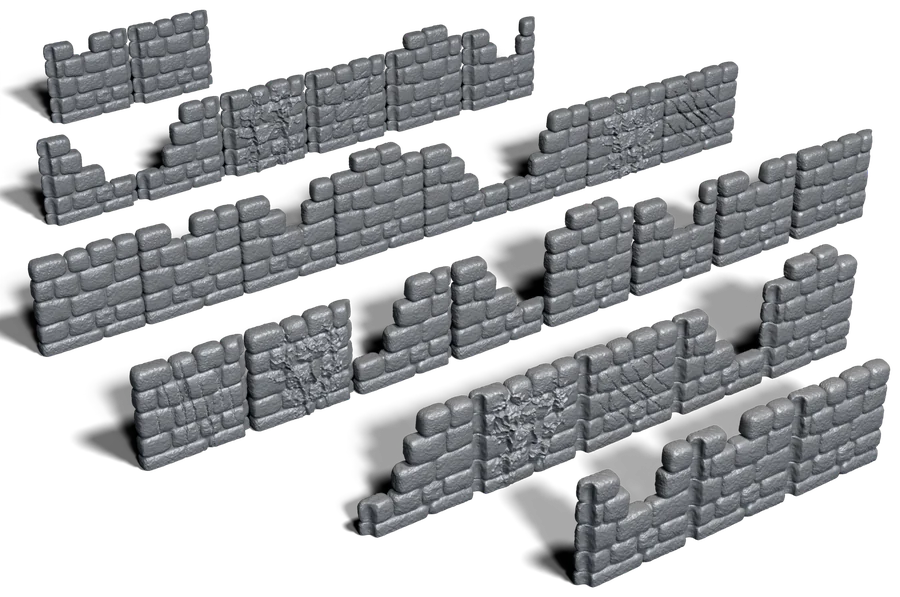
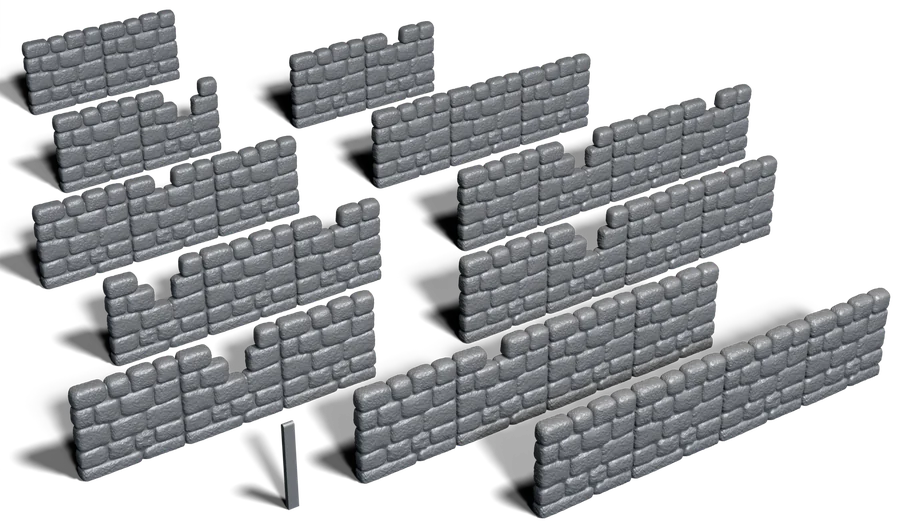
What is in the collection
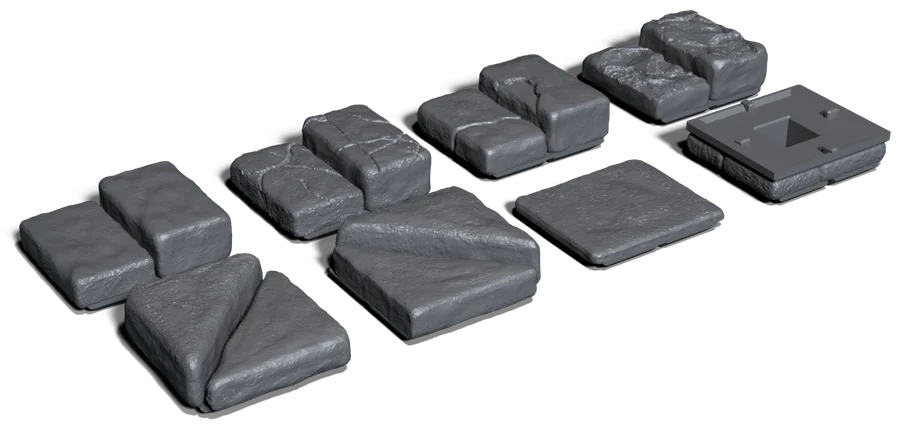
Everything below comes in the one collection of files, along with the filament painted floors and the StageTop play tiles pictured further down, and a set of remix tools for cutting your own parts to fit.
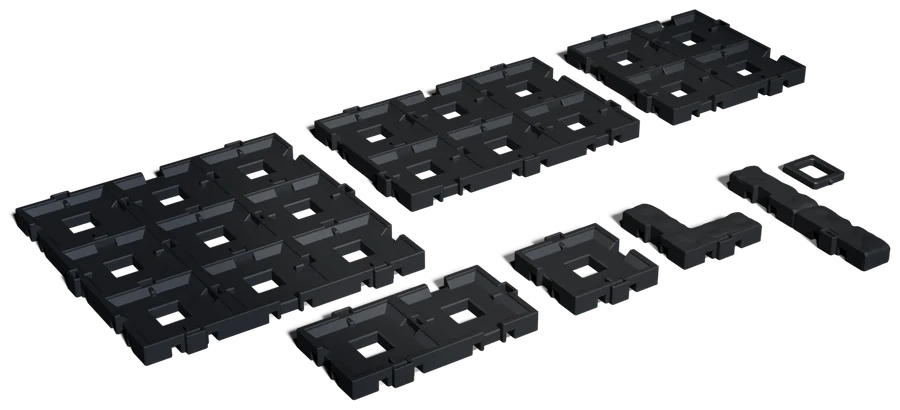
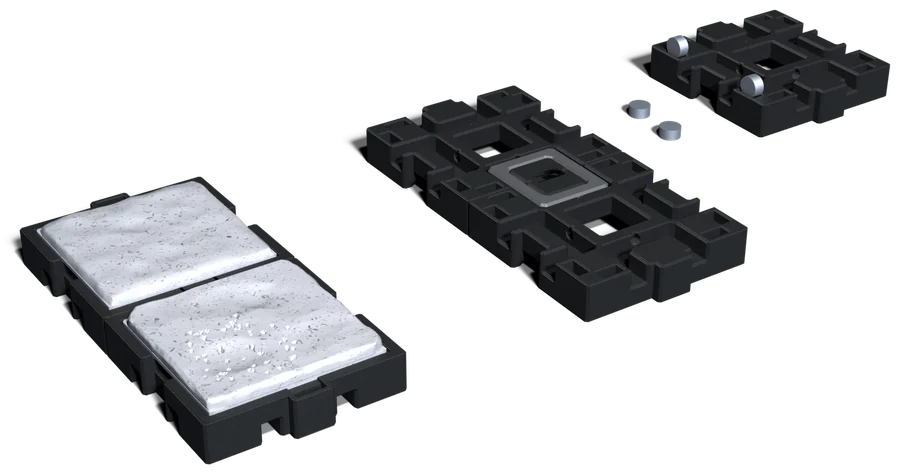
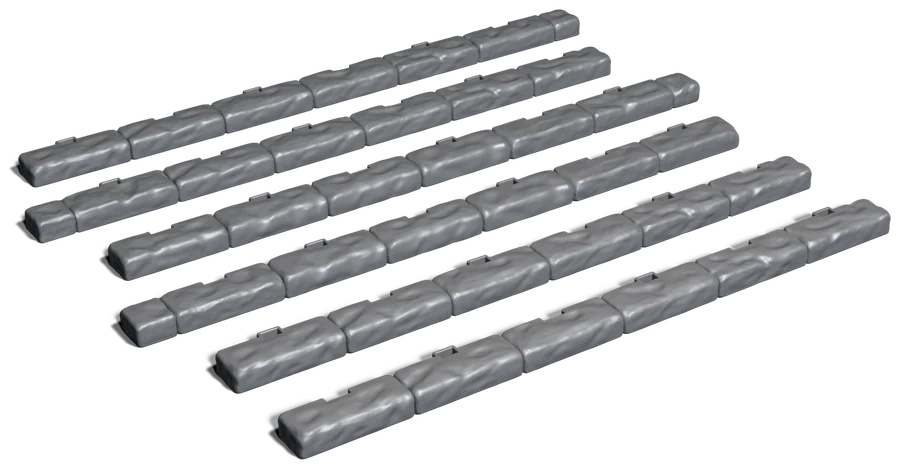
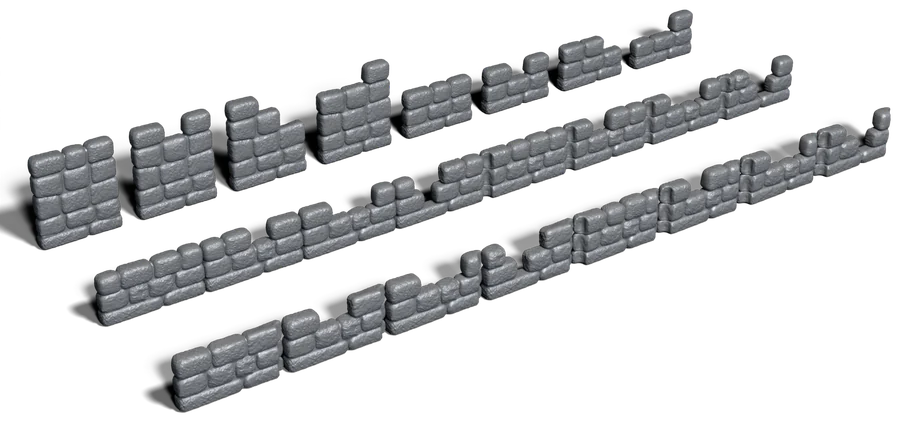
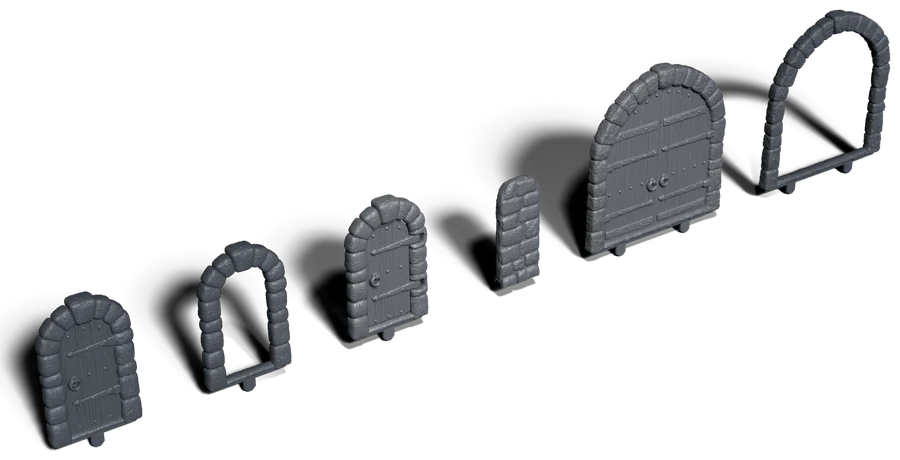
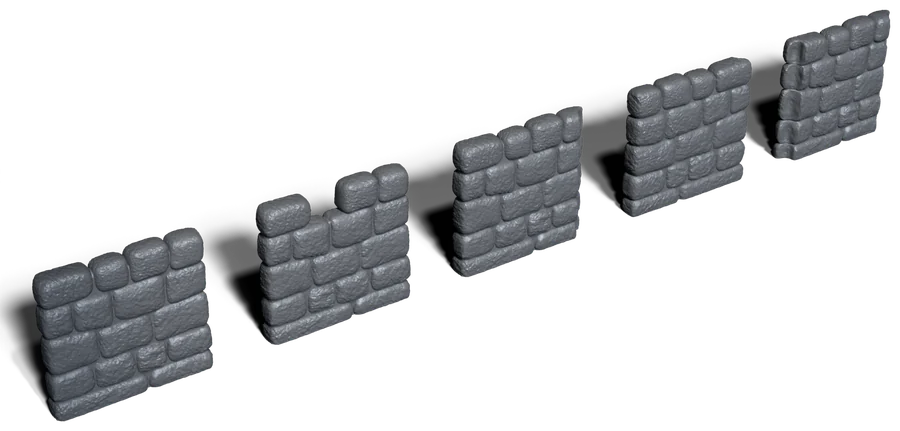
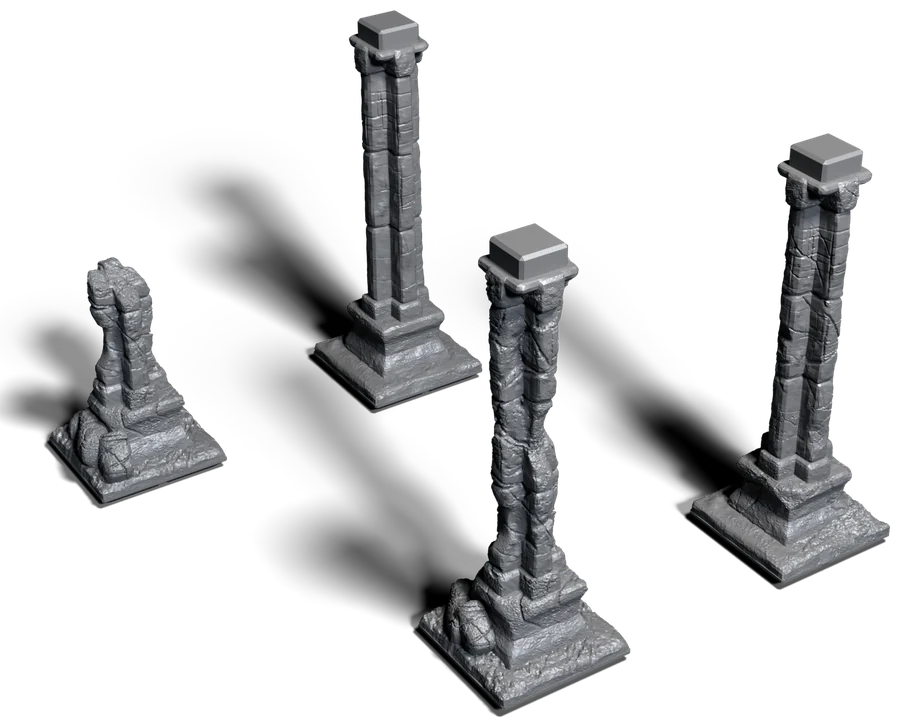
On the table
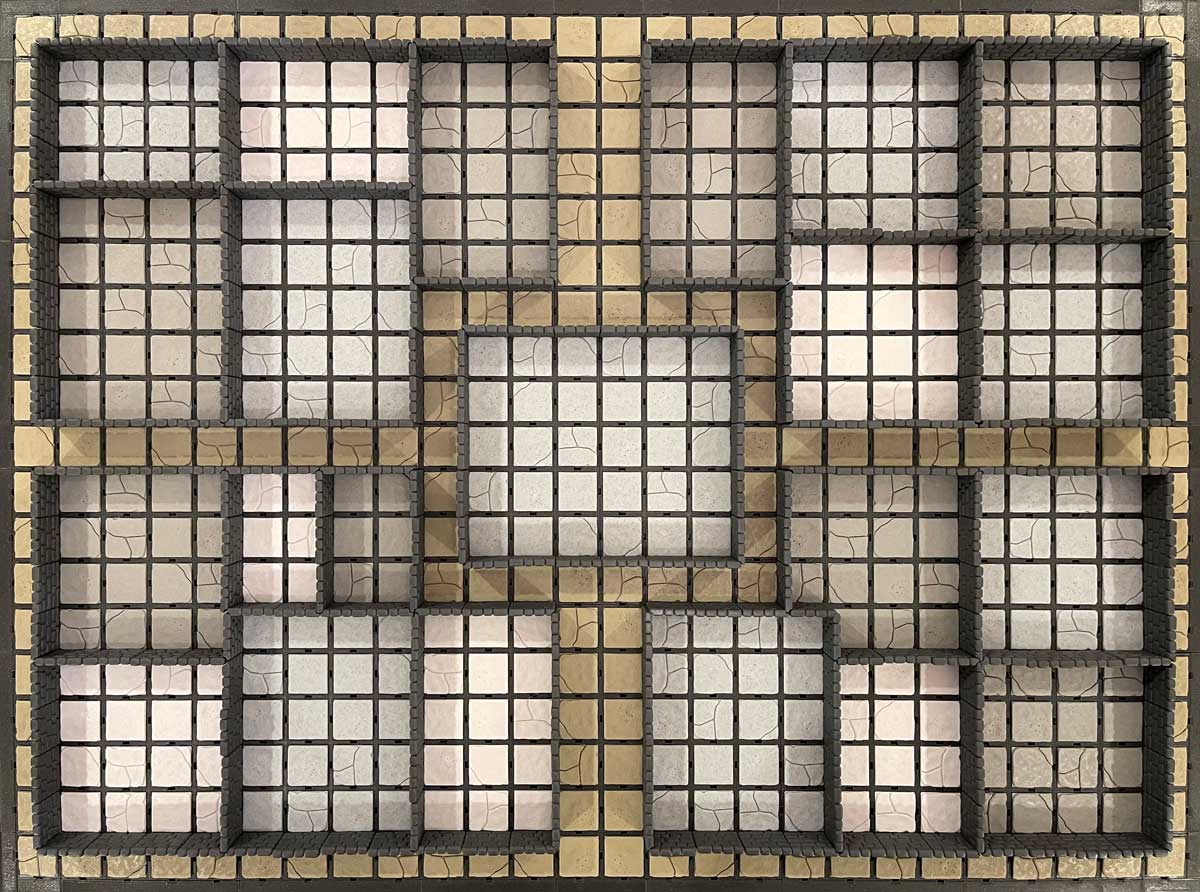
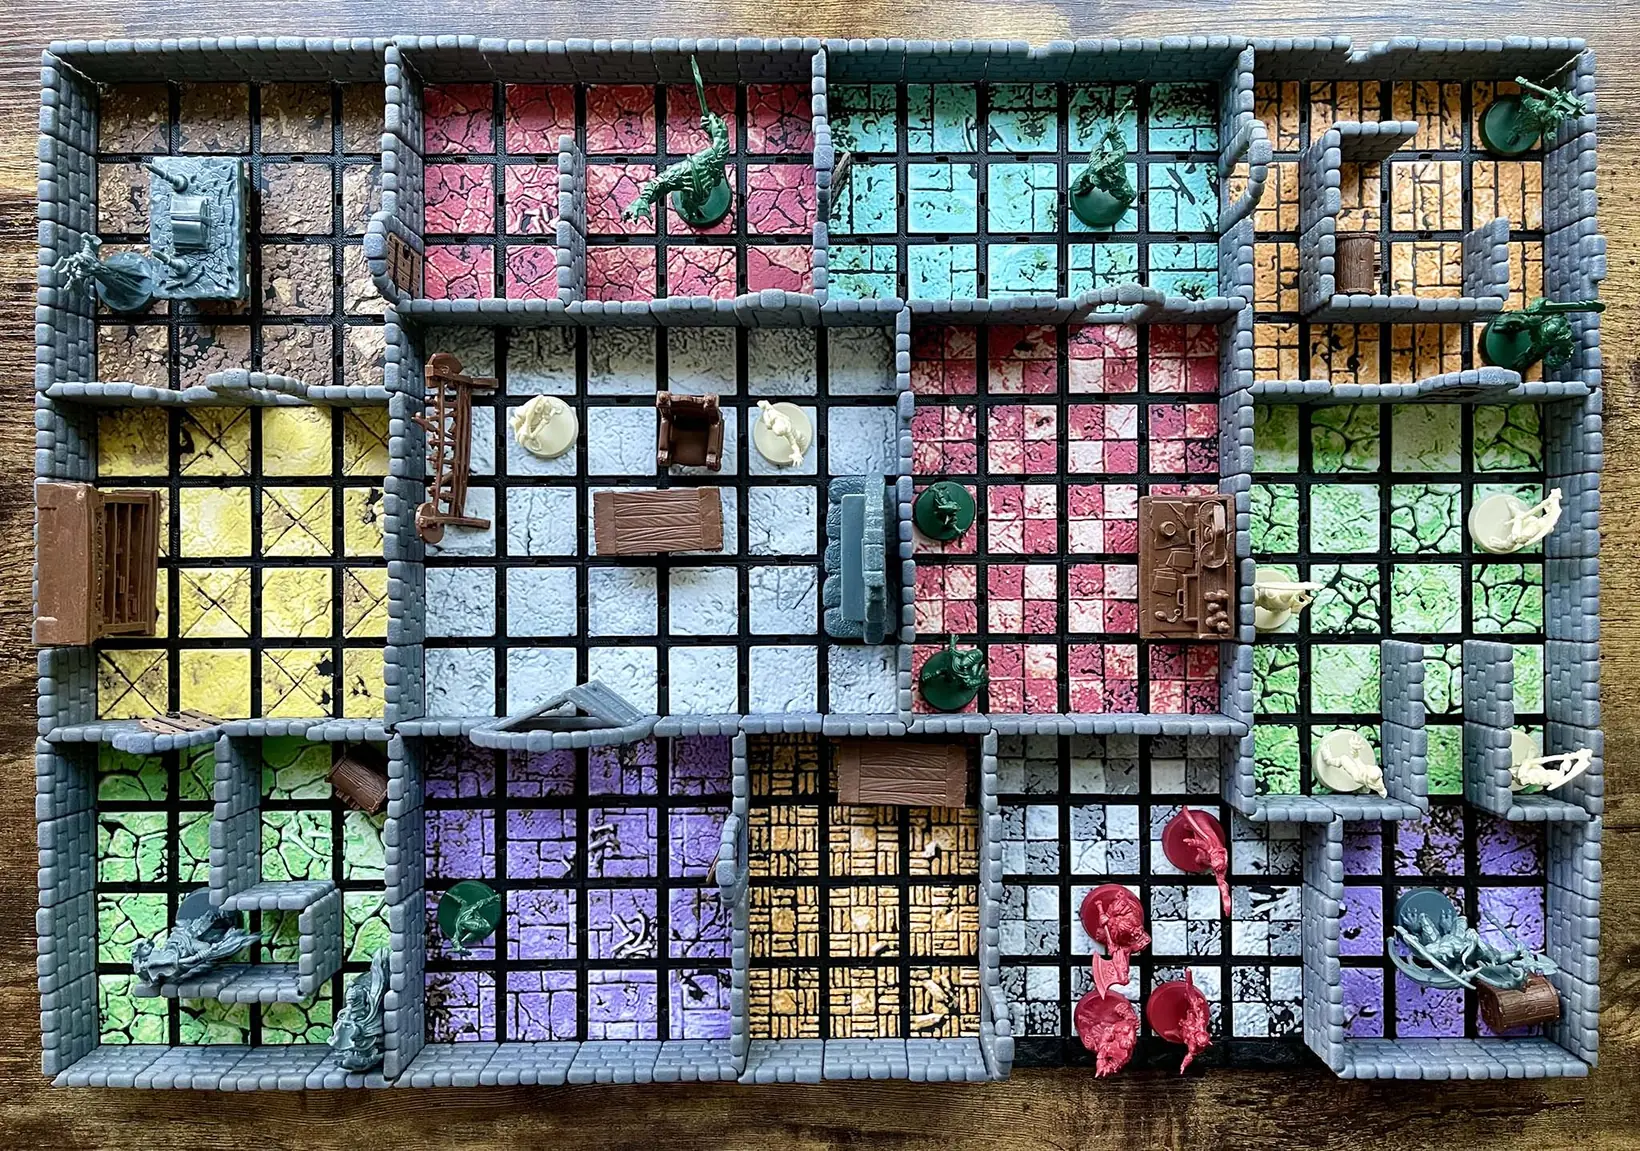
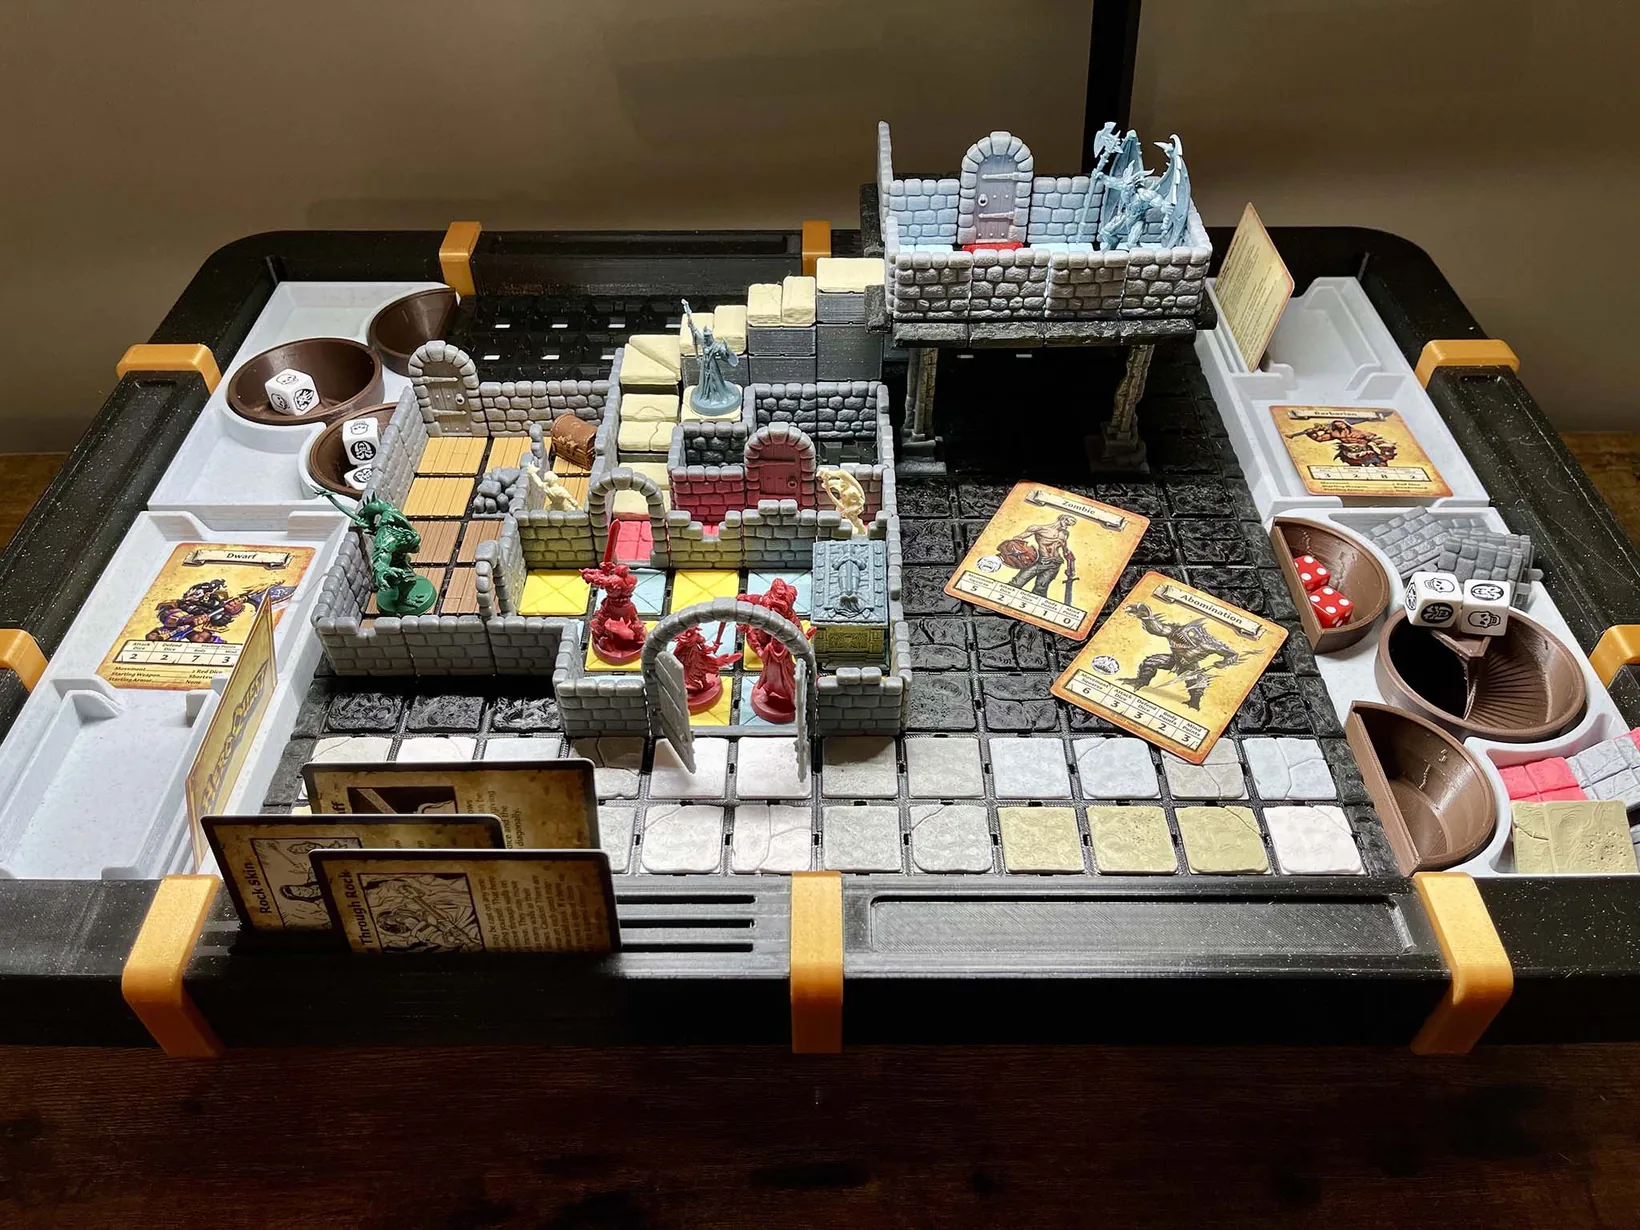
Our first focus is square dungeon tiles. We currently have all the parts to recreate and enhance the traditional HeroQuest game system. This also provides an excellent system to create Dungeons and Dragons maps.
Specifications
Tiles are 32 x 32 mm and terrain 28 x 28 mm, a square inch grid with no wall offsets. HeroQuest reissue scenery and any other square inch pieces fit as they are.
Designed for both FDM and resin. Fast print times and conservative material use. Every model has been printed and tested on FDM and resin printers from several brands.
Fully mechanical, no glue. Tiles hold with a slight snap on their own, take optional clips for a firmer board, or optional magnets.
Pre-configured larger tiles up to 6 x 6 for quick setup, and a full set of remix tools to adapt STL models you already have.
Drops into the 3D printed StageTop board game table.
What you need to print it
Any FDM printer with a 0.4 mm nozzle, printing PLA, is the recommended way; the models were tested on resin printers too. Tiles up to 3x4 fit a 130 mm bed, the 6x6 rooms need about 200 mm.
0.2 mm layers, two walls, 20% infill for tiles, walls and doors (0.1 mm layers for the finest doors). Clips and wall beams print with six walls. Nothing needs supports on FDM.
The fit between tiles depends on dimensional accuracy, so a well tuned first layer and clean corners matter more than speed. Print two 1x1 tiles first and check that they snap together with a little friction.
4 x 2 mm disc magnets, two to an edge, pushed in from below with the jig in the collection. Filament painted floors need colour changes at set layers (a pause, or a multi material system) and come with a file listing the filaments and swap heights.
A thirteen page printing guide comes with the files, with the exact settings for PrusaSlicer, Cura, IdeaMaker and Simplify3D, resin orientation and exposure notes, and how to seat the secret door beams.
Get the system
Buy once, for $50, and you immediately get all of the STL files in the collection, the three board games included. No monthly patronage.

Over 1000 files and more than 10 GB of content for FDM and resin printers, the three board games included, with detailed printing instructions. Buy once, no monthly patronage.
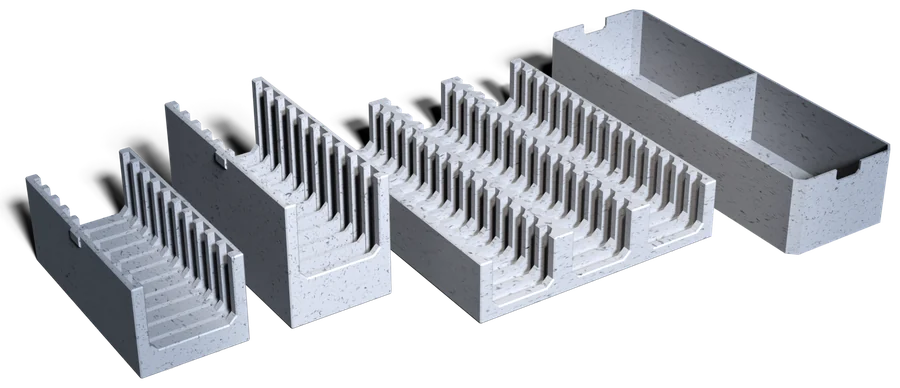
361 printed, magnet ready pieces: 40 tiles from 1x1 to 3x4, 50 sides and 4 corners, 98 stone floors and 2 traps, 48 full walls, 8 left and 8 right walls, 6 hinged doors, 596 magnets, 100 clips, a floor removal tool and 3 organizer trays.